Introduction
I purchased the Surya B22 Emergency LED bulb back in 2021 to handle frequent power outages. Since I didn’t have a home UPS or inverter at the time, this “plug-and-play” rechargeable bulb was a perfect, affordable solution for keeping the lights on.
However, after a few years of service, the bulb started malfunctioning. Instead of steady light, it began blinking incessantly. Curious about the failure, I decided to take it apart to find the root cause.
How to Disassemble a Surya Rechargeable LED Bulb
- Remove the Diffuser: The plastic dome at the top can usually be pried off with a flat-head tool.
- Expose the LED Plate: Inside, you’ll find the aluminum PCB housing 34 high-brightness LEDs.
- Access the Base: I pried the bottom plug (B22 connector) to release the internal assembly.
Why is my Surya Emergency Bulb Blinking?
Blinking in rechargeable LED bulbs usually indicates a failure in the power delivery cycle, either the LED driver circuit is failing, or the Lithium-ion battery can no longer hold a stable charge or take a charge.
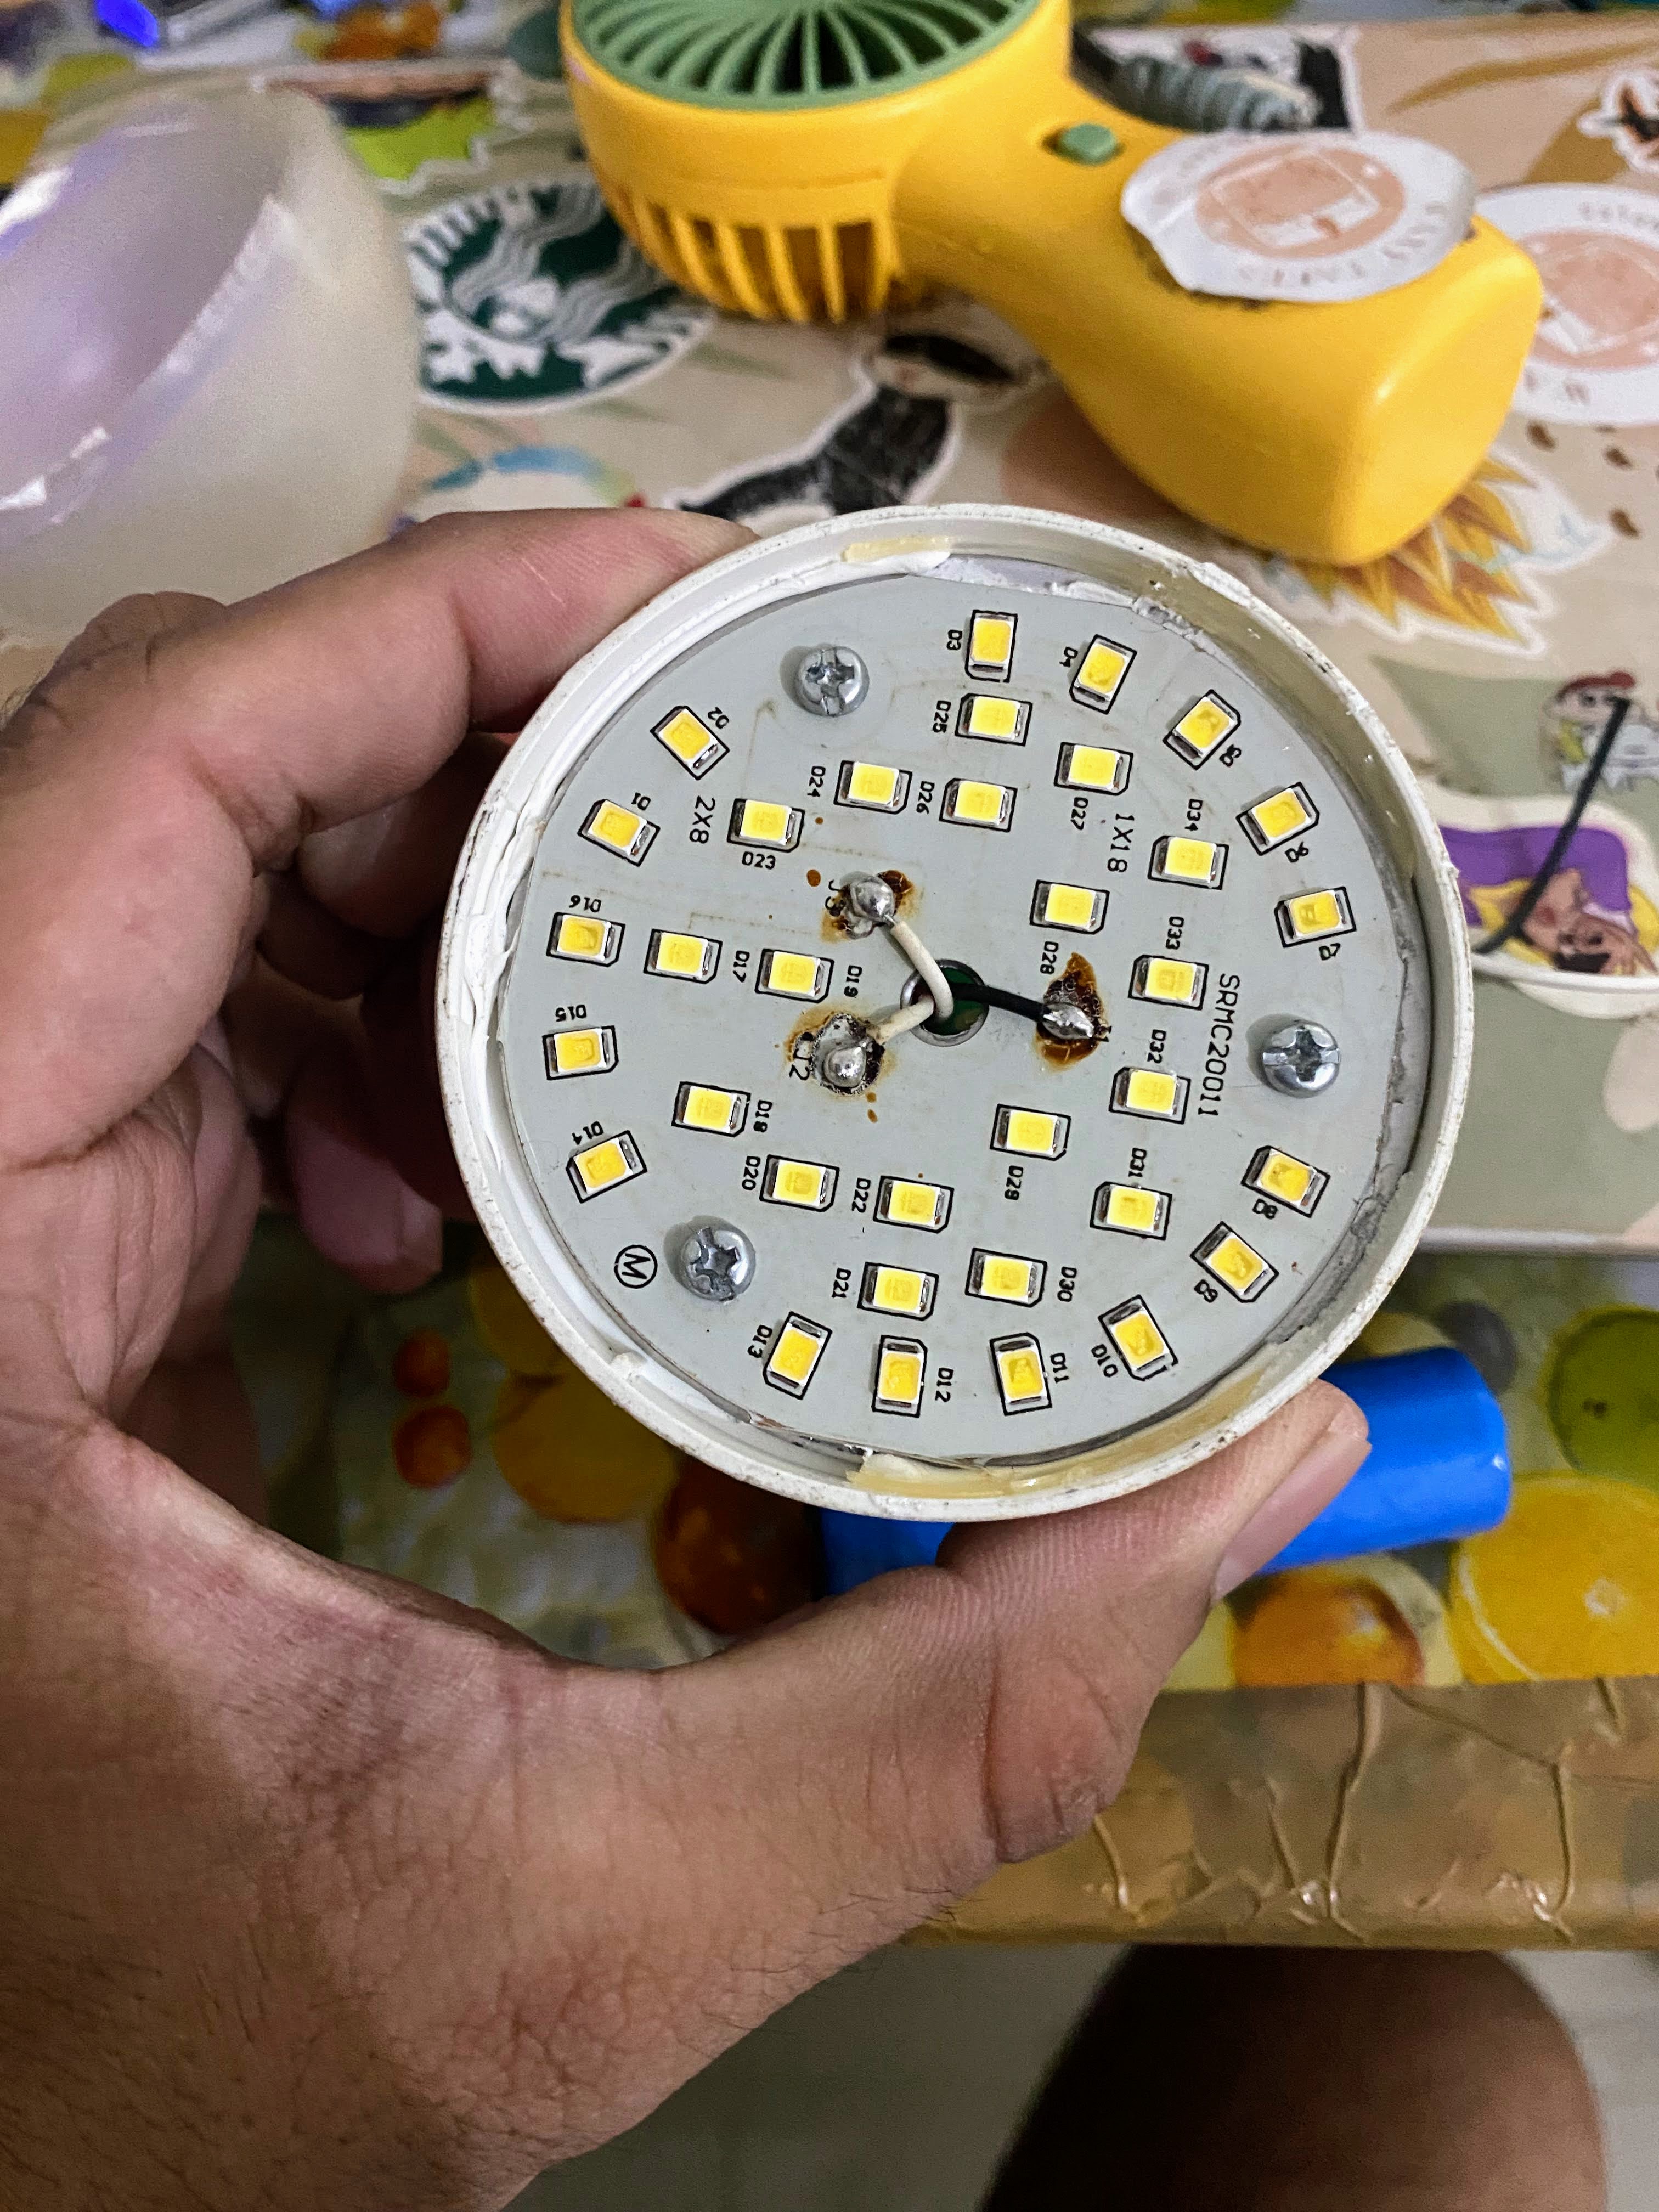
You can see that the bulb has 34 LEDs inside.
I moved the bottom half of the bulb and managed to twist it out, exposing the circuit board inside and a removable battery.
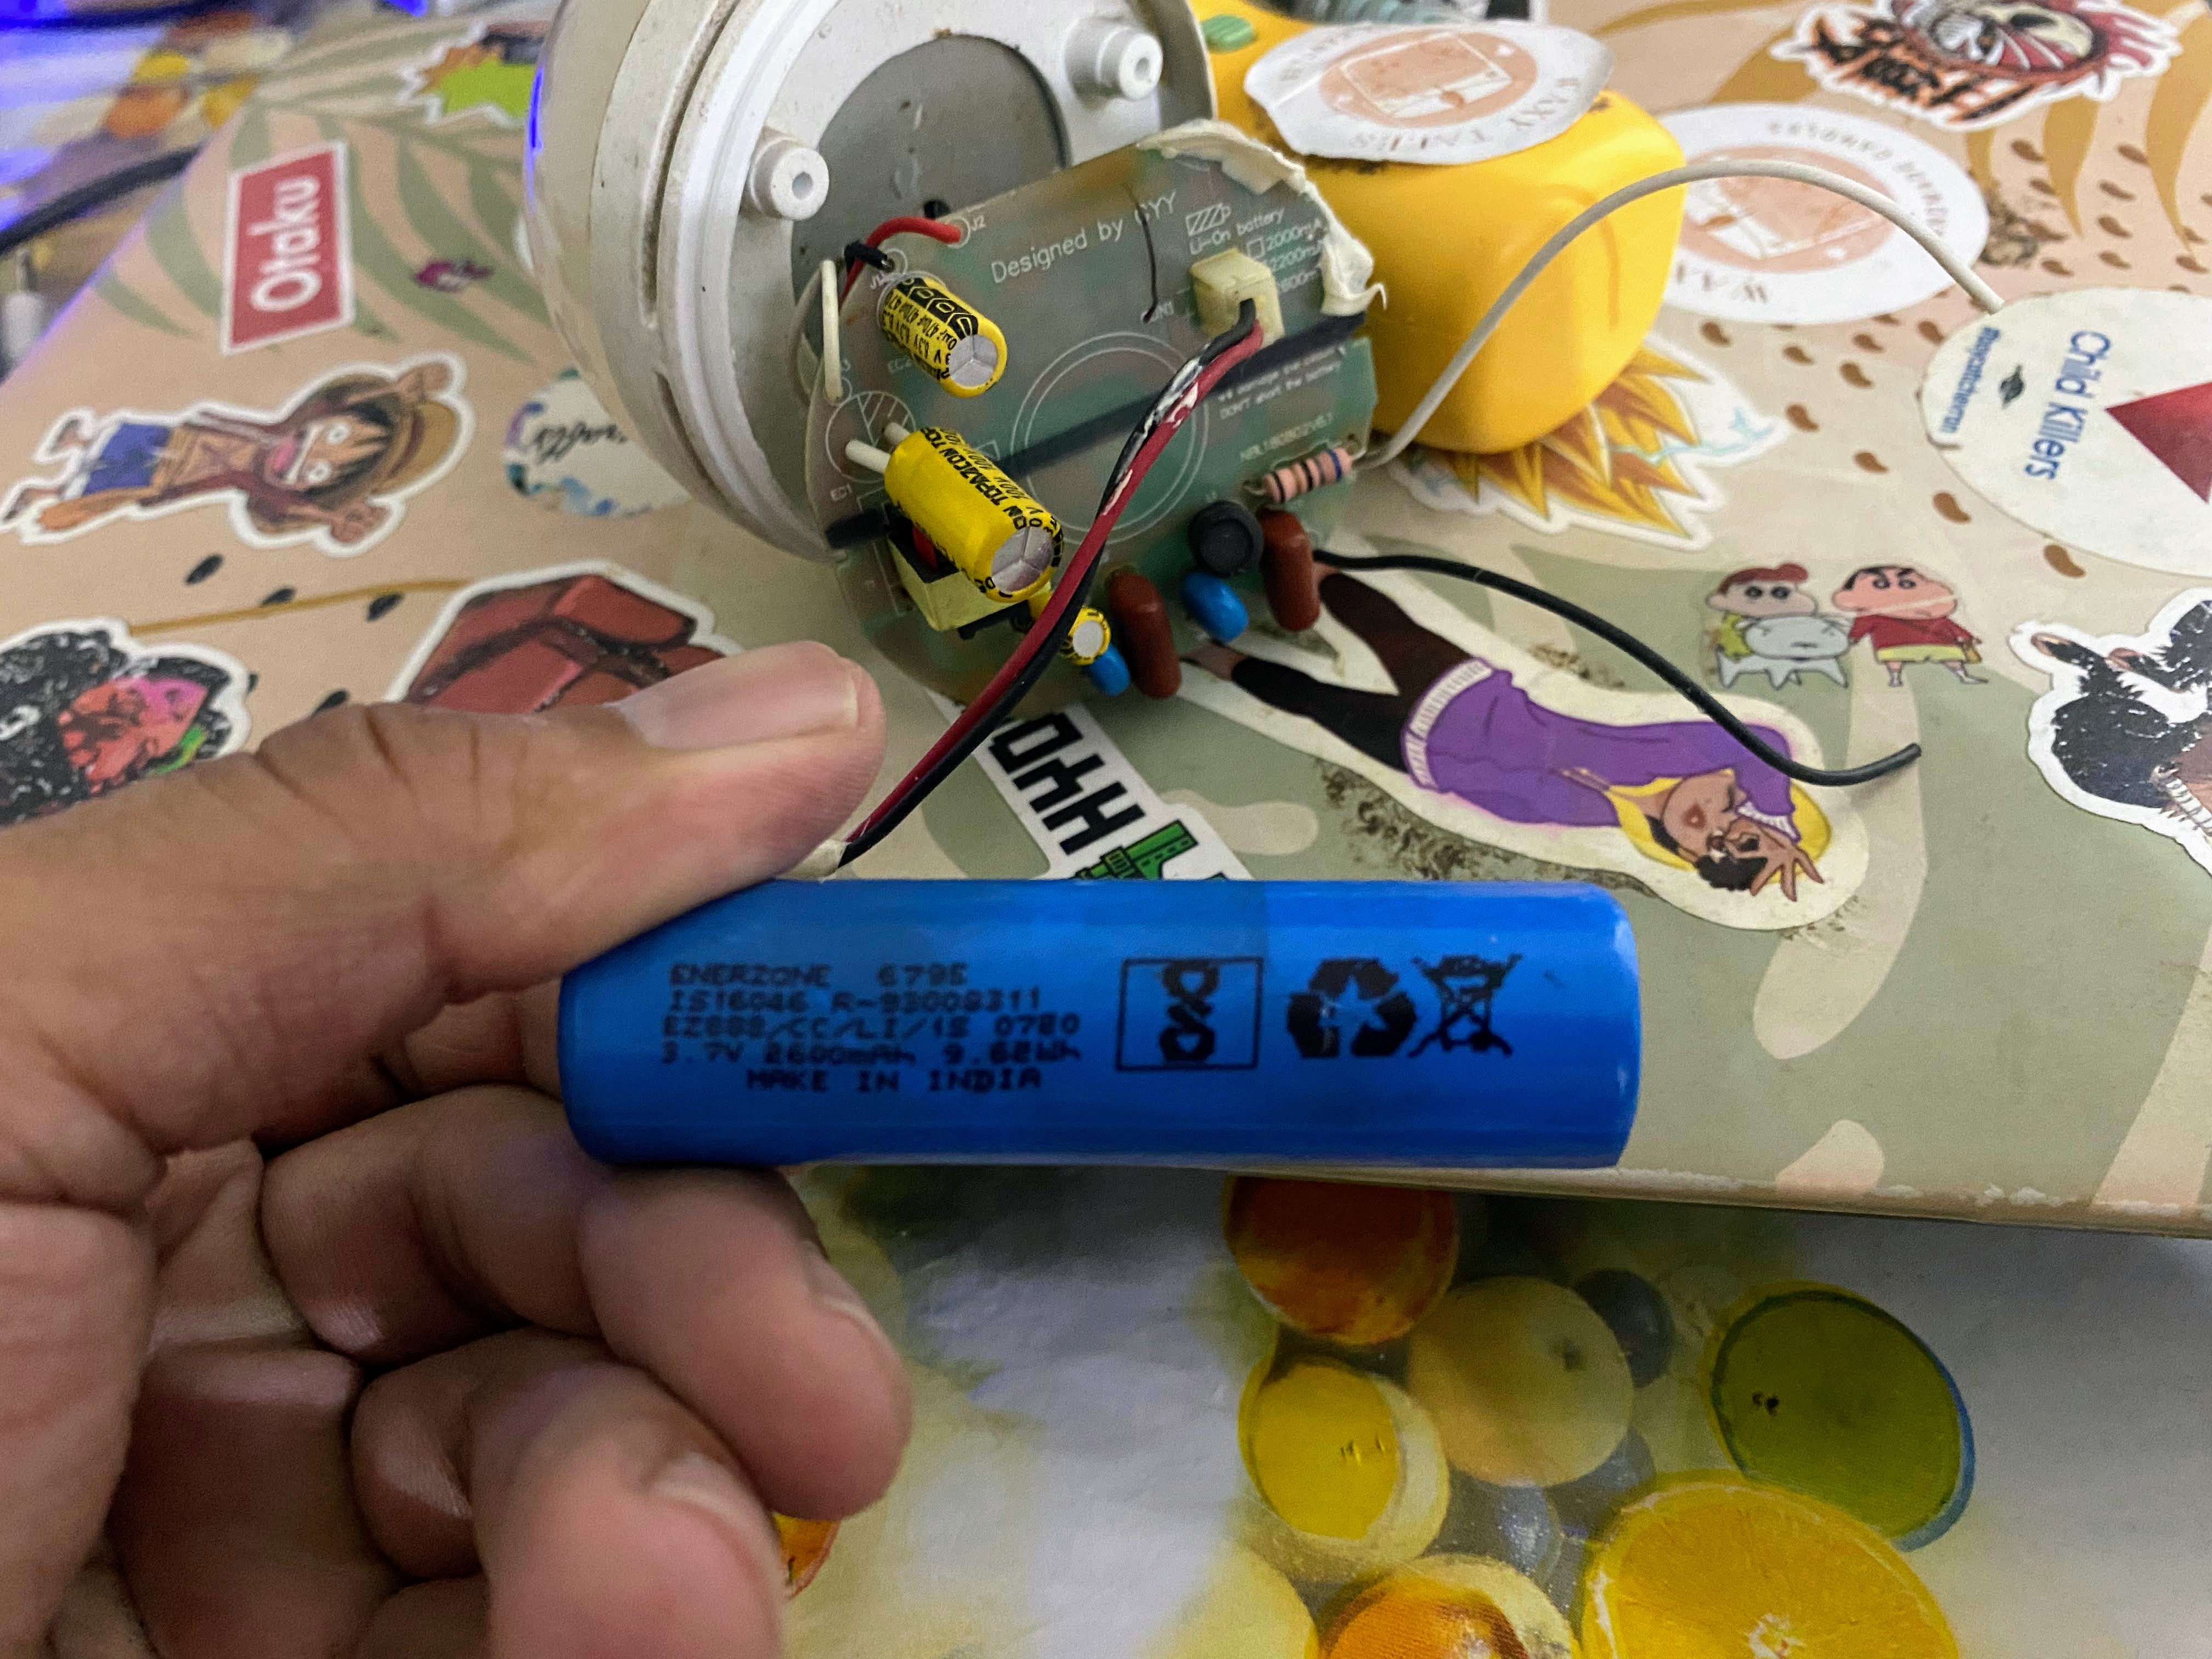
The Li-ion battery is made by Enerzone India. Rated at 3.7volts x 2600 mAh.
Inside the Surya Emergency Bulb: Components & Discovery
Upon twisting out the internal assembly, I found a surprisingly modular setup. The heart of the bulb consists of a control circuit and a removable battery.
- The Battery (The Likely Culprit) The unit uses a standard 18650 Li-ion battery made by Enerzone India. Specs: 3.7V | 2600 mAh.
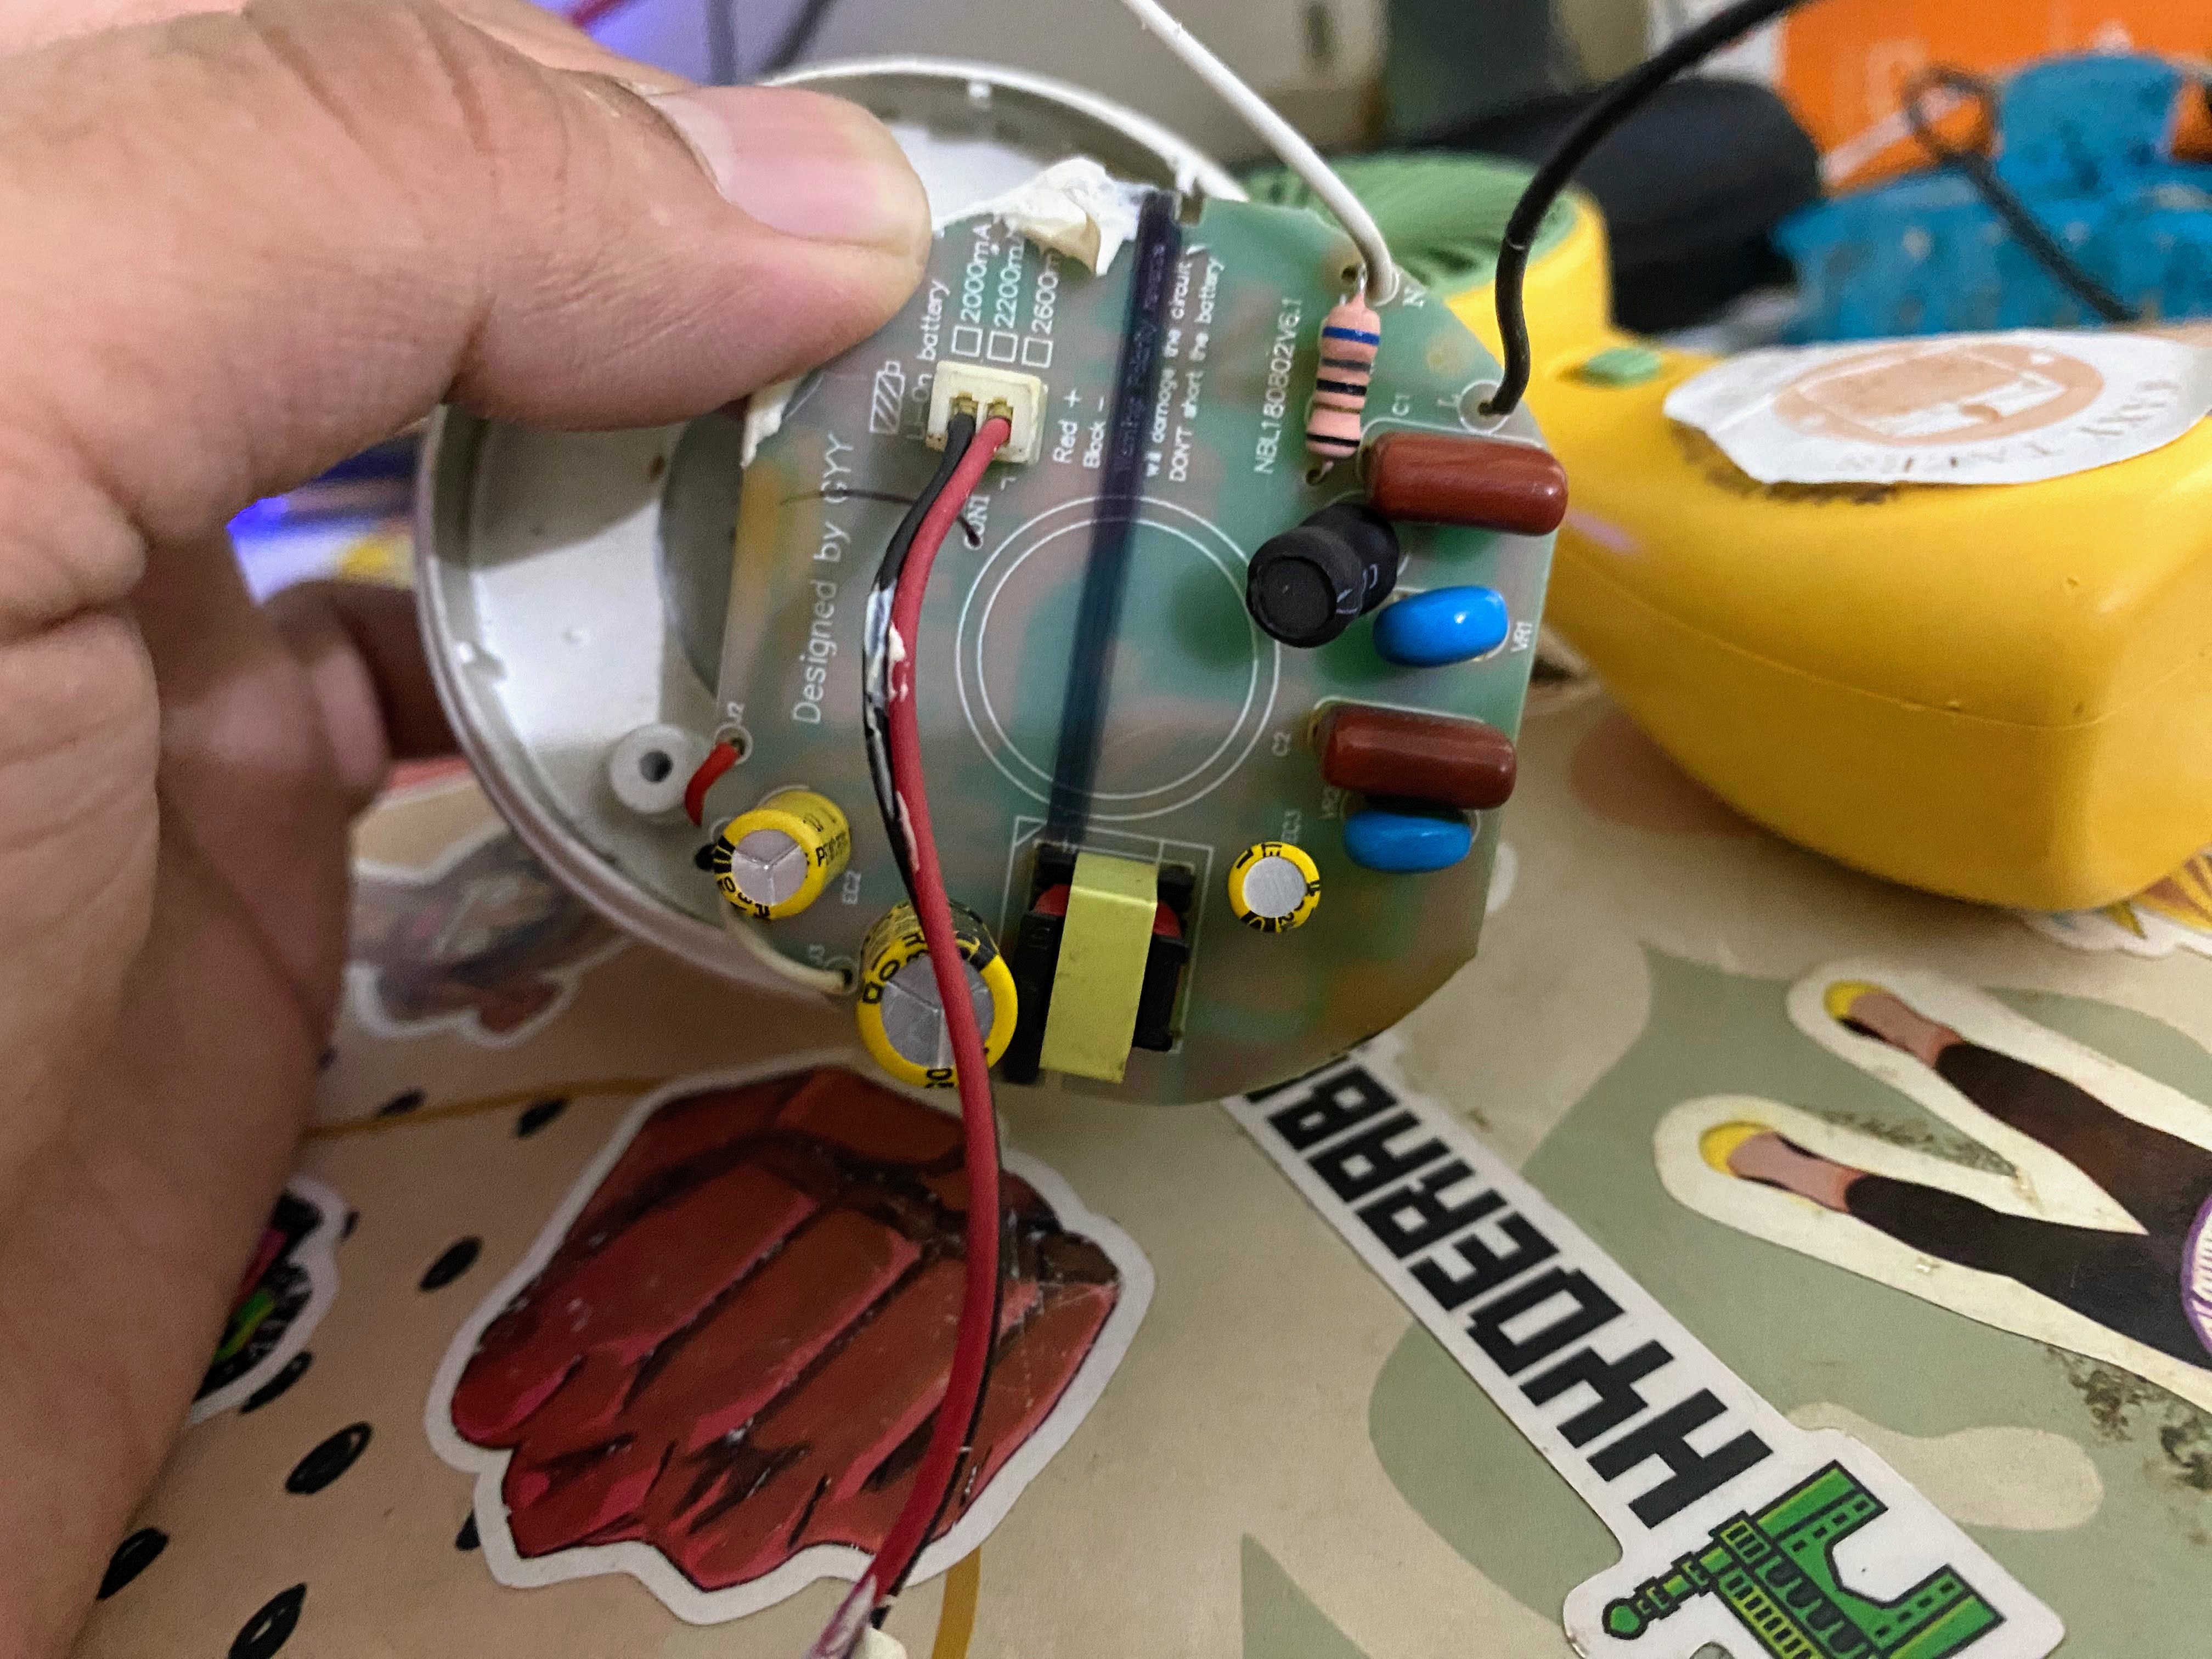
Observation: I noticed black soot near the battery protection circuit. It appears a capacitor or a component on the protection board has >blown. While the battery cells might have some residual voltage, the protection board’s failure means it can no longer accept a charge or discharge safely.
- The LED Driver Circuit The circuit is relatively simple. One side handles the AC-to-DC conversion and charging, while the other side contains the logic chips to switch between “Mains” mode and “Battery” mode during a power cut.
Technical Note: The failure mode here is the internal safety board of the battery. When these protection circuits fail (often with a “boom” or soot mark), the driver circuit gets confused, leading to the “strobe” or blinking effect you see.
Conclusion: Is it Fixable?
My teardown suggests that the LED chips themselves are fine; the issue lies entirely with the 18650 battery pack. Because the battery is removable and uses a standard 3.7V rating, this is seems to be repair friendly.
My Next Step: I will try replacing the 18650 battery with a fresh one and check if the blinking stops. I’ll report back with the results!
Stay Updated
If you found this teardown helpful, you can follow this blog via RSS or find me on Mastodon for more DIY repair guides and tech experiments.